Have you ever wanted to create your own custom bobble head doll? Well, now you can! In this blog post, we will guide you through 10 easy steps to create your very own personalized bobble head doll. Whether you want to make a unique gift for a loved one or simply want to express your creativity, this step-by-step guide will help you bring your bobble head doll to life.
Step 1: Gather Your Materials
The first step in creating your own bobble head doll is to gather all the necessary materials. You will need clay or polymer clay, sculpting tools, acrylic paint, paintbrushes, and a bobble head mechanism. You can find these materials at your local craft store or online.
Step 2: Choose a Design
Next, decide on the design for your bobble head doll. You can create a doll that resembles yourself, a loved one, or even a fictional character. Sketch out your design on paper before you start sculpting to have a clear vision of what you want to create.
Step 3: Sculpt the Head
Using the clay or polymer clay, start sculpting the head of your bobble head doll. Take your time and pay attention to the details. Use the sculpting tools to shape the facial features and add any unique characteristics.
Step 4: Attach the Bobble Head Mechanism
Once you are satisfied with the sculpted head, carefully attach the bobble head mechanism to the bottom of the head. This mechanism will allow the head to bobble when touched.
Step 5: Sculpt the Body
Now it’s time to sculpt the body of your bobble head doll. Use the clay or polymer clay to shape the body according to your design. Pay attention to proportions and make sure the body is balanced and stable.
Step 6: Bake or Air Dry
Depending on the type of clay you are using, you will either need to bake your doll in the oven or let it air dry. Follow the instructions on the clay packaging for the recommended baking or drying time.
Step 7: Paint the Doll
Once the doll is fully dry, it’s time to bring it to life with paint. Use acrylic paint and paintbrushes to add color and details to your bobble head doll. Take your time and be patient, as this step requires precision.
Step 8: Add Final Touches
After the paint has dried, you can add any final touches to your bobble head doll. This could include adding hair, accessories, or any other details that will make your doll unique.
Step 9: Seal the Doll
To protect the paint and ensure the longevity of your bobble head doll, it’s important to seal it with a clear varnish or sealant. This will also give your doll a glossy finish.
Step 10: Enjoy Your Creation
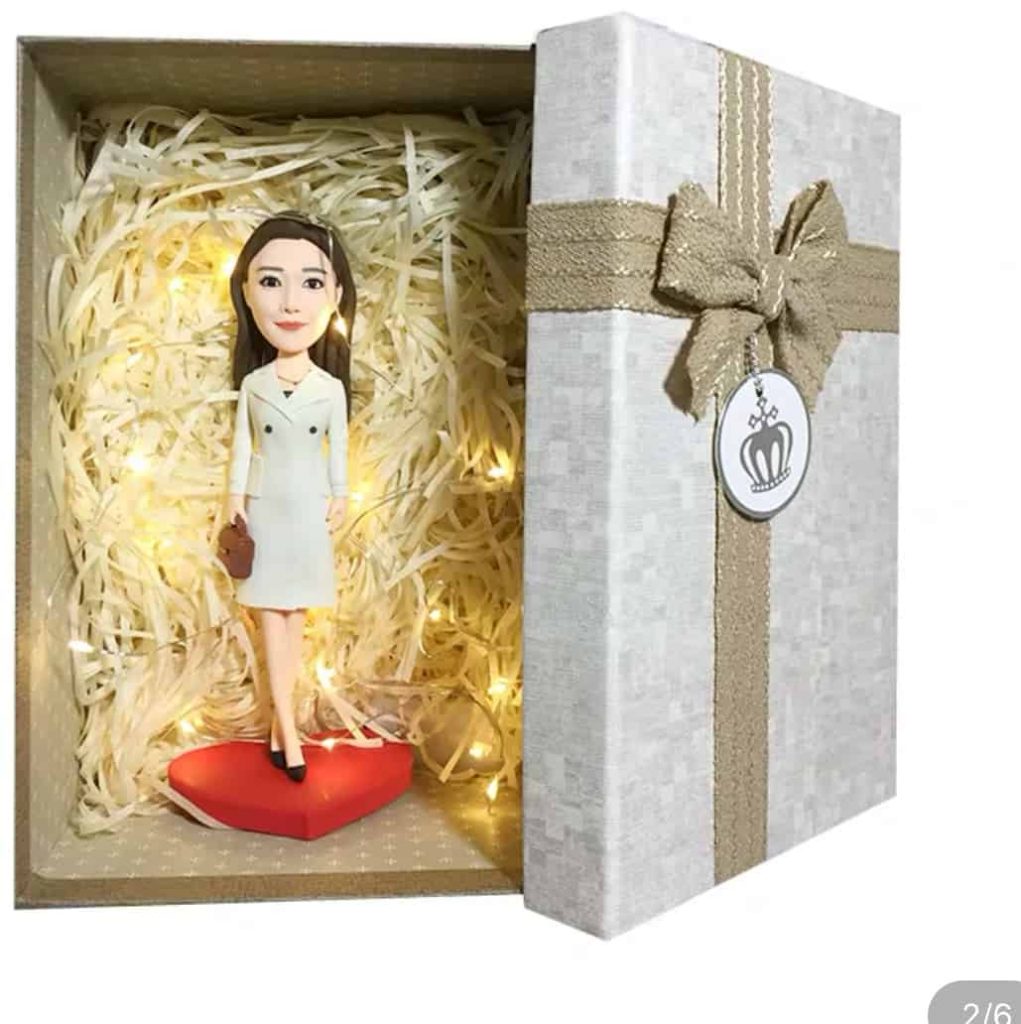
Finally, it’s time to enjoy your very own custom bobble head doll! Display it proudly on your desk, give it as a gift, or simply admire your artistic creation. Creating your own bobble head doll is a fun and rewarding experience that allows you to unleash your creativity.
So, what are you waiting for? Gather your materials, follow these 10 easy steps, and create your own personalized bobble head doll today. With a little bit of patience and creativity, you’ll have a unique and one-of-a-kind doll that will bring joy and amusement to anyone who sees it.