In a world of mass-produced gifts and generic home decor, the desire for something truly unique has never been stronger. The custom bobblehead has emerged as a champion of personalized gifting, capturing personality, humor, and sentiment in a wobbly, delightful figurine. Whether it is for a wedding cake topper, a retirement gag gift, or a cherished memento of a loved one, knowing how to make your own bobblehead opens a door to limitless creativity.
While some adventurous crafters attempt to sculpt these from scratch using polymer clay and wire springs at home, the path to a professional, durable, and uncannily accurate doll lies in partnering with expert artisans. This guide explores the fascinating world of bobblehead creation, detailing the precise steps to commission a masterpiece that will nod its head for years to come.
Table of Contents
- 1. The Evolution of the Bobblehead
- 2. Materials: Polymer Clay vs. Resin
- 3. Step 1: Select the Body Type
- 4. Step 2: Upload Your Pictures & Select Features
- 5. Step 3: Advanced Customization & Checkout
- 6. Step 4: Confirmation & Production Process
- 7. Step 5: Get Your Bobblehead
- 8. Comprehensive Sizing Guide
- 9. Summary Comparison Table
- 10. Frequently Asked Questions (FAQs)
- 11. References
1. The Evolution of the Bobblehead
The concept of a figurine with a moving head dates back centuries, with origins tracing to ancient Asia and 18th-century Europe, where “temple nodders” and porcelain figures were symbols of status. However, the modern bobblehead craze truly began in the United States in the 1960s with Major League Baseball. These early papier-mâché dolls were fragile and generic, often sharing the same face for every player.
Today, technology and artistry have converged. We have moved from generic ceramic nodders to fully customizable works of art. Modern manufacturing allows you to make your own bobblehead that captures specific facial features, tattoos, and even unique fashion choices. Services like Bbobbler have democratized this art form, allowing anyone with a computer or smartphone to become the designer of their own collectible.
2. Materials: Polymer Clay vs. Resin
When you decide to create a custom doll, one of the first technical distinctions you will encounter is the material. Understanding the difference between Polymer Clay and Resin is crucial for setting expectations regarding durability and finish.
Polymer Clay
Polymer clay is a modeling material based on polyvinyl chloride (PVC). It contains no actual clay minerals but offers a gel-like working property that hardens when baked.
- Color: The color is inherent in the clay itself. Artists use different colored clays to sculpt the figure, resulting in a vibrant, matte finish that won’t peel or fade over time.
- Detail: It allows for incredible organic detail, making skin tones and textures look more realistic.
- Flexibility: It is naturally more resistant to cracking than painted resin because the color is not a surface layer.
Polyresin
Resin is a sturdy material that is poured into molds.
- Process: The figure is cast in a single color (usually grey or white) and then hand-painted.
- Finish: It can achieve a higher gloss and is excellent for replicating rigid items like helmets or vehicles. However, because it is painted, there is a risk of paint chipping over decades.
- Replicability: Resin is ideal if you need 500 identical copies for a corporate event, as molds can be reused. Polymer clay is better for one-of-a-kind custom pieces.
Bbobbler Custom Specification
Material: Polymer Clay Or Resin
Standard Height: About 6.5 Inches
Weight (Single Doll): About 0.3kg
Bbobbler offers the flexibility of choice, ensuring your fully custom bobblehead doll from head to toe meets your specific aesthetic and durability needs.
3. Step 1: Select the Body Type
The first step to make your own bobblehead is establishing the foundation: the body. This is where you define the theme and context of your figurine. You generally have two broad categories to choose from:
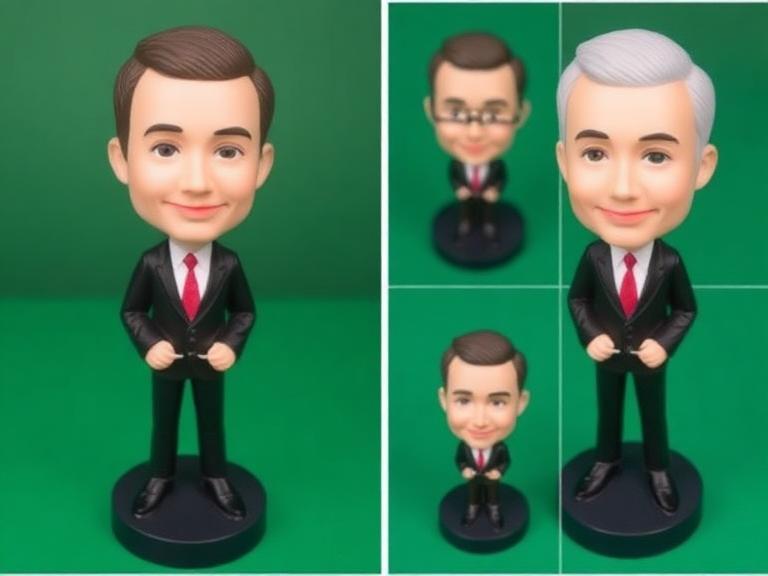
Standard Body (Pre-Made)
These are pre-sculpted bodies in popular poses. You browse categories on the website to find a body that matches the recipient’s hobby or profession.
- Sports: Baseball players, golfers, yoga practitioners.
- Professions: Doctors, firefighters, business executives in suits.
- Occasions: Brides and grooms, graduates in cap and gown.
Using a standard body is often faster and slightly more affordable because the artist only needs to sculpt the custom head to match your photos.
Fully Custom Head-to-Toe
For the ultimate personalization, you can choose a “Fully Custom” option. Here, you provide a photo of a specific outfit—perhaps a unique cosplay costume, a specific uniform, or a favorite casual look—and the artist sculpts the entire body from scratch to match. This is ideal when the pre-made categories don’t quite fit your vision.
Action: Browse the website categories carefully. If you want a superhero body or a casual “work from home” look, select the body type that best tells your story.
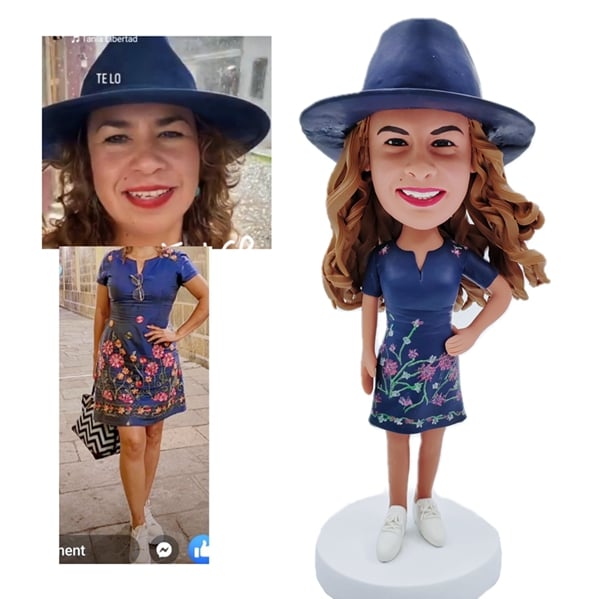
4. Step 2: Upload Your Pictures & Select Features
Once the body is selected, the magic begins. This step determines the likeness of the doll. The artist relies entirely on the visual data you provide, so quality is paramount.
The Importance of High-Quality Photos
You cannot make your own bobblehead successfully with blurry photos. You need to upload clear, high-resolution images.
- Front View: A direct shot of the face with a neutral or smiling expression (whichever you want sculpted). Ensure good lighting so eye color and skin tone are visible.
- Profile View: A side view helps the sculptor understand the depth of the nose, the shape of the jawline, and the structure of the ears.
- Hair Reference: If the subject often changes hairstyles, upload a specific photo of the hairstyle you want permanently captured.
Selecting Options
During this stage of the order, you will also select specific attributes:
- Hair Color: Choose the exact shade (Blonde, Brown, Black, Grey, etc.).
- Eye Color: Blue, Green, Brown, Hazel.
- Skin Tone: Light, Medium, Dark.
Even though you upload photos, explicitly selecting these options ensures there is no ambiguity for the artist.
5. Step 3: Advanced Customization & Checkout
With the basics uploaded, you move to the finer details. This step often involves using your mobile device or computer to finalize the transaction, but it also allows for those special touches that make the gift unique.
Base Personalization
Most bobbleheads stand on a base. You can usually add text to this base, such as a name, a date, or a short phrase like “World’s Best Boss.” Verify the spelling carefully before proceeding.
Add-Ons and Props
Does the subject love their guitar? Do they never leave the house without their dog? During this step, you can often add accessories:
- Props: Sunglasses, hats, musical instruments, sports gear.
- Pets: Many services allow you to add a small sculpted pet to the base alongside the human figure.
Process Checkout: Once all photos are uploaded and colors are selected, you proceed to checkout. Modern platforms allow you to process checkout seamlessly on your phone, making it easy to order gifts on the go.
6. Step 4: Confirmation & Production Process
This is the most critical differentiator between buying a cheap toy and commissioning a custom art piece. After you process the checkout, the interaction doesn’t end. When the manufacturer receives your order, they will review the details and often confirm them with you before production begins.
The Proofing Stages
Top-tier services like Bbobbler understand that likeness is subjective. They typically offer a proofing process:
- Clay Sculpting: The artist sculpts the head and sends you a digital photo proof.
- Review: You review the shape of the nose, the smile, and the eyes. If it doesn’t look right, you provide feedback (e.g., “Make the cheeks fuller” or “The chin is too pointed”).
- Revision: The artist modifies the clay and sends a new proof.
- Approval: Once you approve the sculpt, it is baked and hardened. Note: Once baked, the shape cannot be changed, so take this step seriously.
This collaborative back-and-forth ensures that when you finally make your own bobblehead, it meets your expectations.
7. Step 5: Get Your Bobblehead
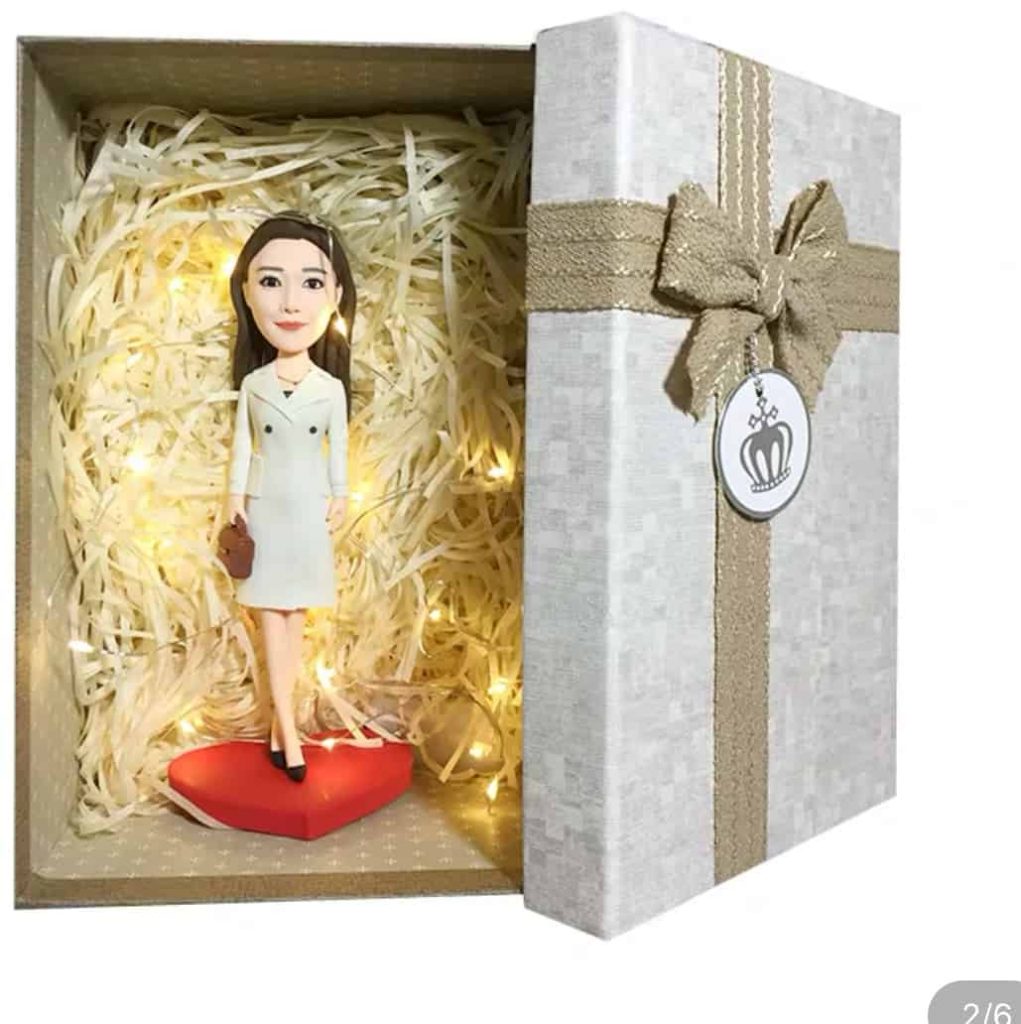
After the rigorous sculpting, baking, painting, and assembly process, your mini-me is ready. The final step is shipping.
Because these items are fragile, they are packed with extreme care, often in custom-cut foam or air-cushioned boxes. Upon arrival, unbox carefully. You now hold a one-of-a-kind creation—a “Bbobbler Fully custom bobblehead doll from head to toe”—ready to be displayed on a desk, dashboard, or mantle.
8. Comprehensive Sizing Guide
Size matters when displaying collectibles. While the industry standard is established, customization allows for variance.
Standard Dimensions:
The standard height for a bobblehead is approximately 6.5 Inches. This is the sweet spot for desk accessories—large enough to see details, but small enough not to clutter a workspace.
Height Differences:
If you are ordering a couple (e.g., for a wedding cake topper), the manufacturer typically accounts for height differences. If the groom is significantly taller than the bride in real life, the dolls will reflect this relative scale.
Available Sizes:
On the website, you generally have options to upgrade the size if you want a centerpiece item:
- Standard: 6.5 Inches
- Large: 8 Inches
- Extra Large: 9.5 Inches
- Jumbo: 12 Inches
Specialty Sizes:
- Kids: Child bobbleheads are sculpted slightly smaller than adults to maintain realistic proportions.
- Sitting Models: A doll in a sitting position (e.g., driving a car or sitting on a couch) will naturally be shorter than 6.5 inches vertically, though the scale remains the same.
- Key Chains: Approx. 4 inches.
- Bottle Stoppers/Openers: Approx. 2.5 inches (head only).
9. Summary Comparison Table
| Feature | Standard Bobblehead | Fully Custom Bobblehead | DIY (Home Made) |
|---|---|---|---|
| Creation Method | Pre-molded body, custom head | Sculpted from scratch head-to-toe | Hand-sculpted clay / 3D Print |
| Cost | Moderate | Premium | Low (High Labor) |
| Likeness Accuracy | High (Professional Sculptor) | High (Professional Sculptor) | Varies by Skill Level |
| Material | Polyresin or Polymer Clay | Polyresin or Polymer Clay | Craft Clay / PLA Plastic |
| Time to Make | 2-4 Weeks | 3-6 Weeks | Variable |
| Best Use | Gifts, Weddings, Sports | Unique Costumes, Specific Poses | Hobby Projects, Kids Crafts |
10. Frequently Asked Questions (FAQs)
Typically, the process takes between 2 to 4 weeks. This includes the time for the artist to sculpt the clay, send you proofs for approval, bake the doll, and ship it. Rush options are often available for tighter deadlines.
You can usually request changes during the proofing stage. Once the artist sends the initial sculpt preview, you can ask for adjustments to facial features. However, major changes (like changing the body pose or outfit entirely) may incur extra fees once sculpting has begun.
A single doll weighs about 0.3kg. The heads are solid but the bases are designed to be wide and weighted to ensure stability. Springs are calibrated to support the head weight while still allowing for that signature wobble.
Yes! Most custom services allow you to create bobbleheads of dogs, cats, or even exotic pets. You simply upload photos of your pet just as you would for a human.
11. References
- National Bobblehead Hall of Fame and Museum. “History of Bobbleheads.”
- HuffPost. “Why Personalized Gifts Are More Meaningful.”