3D printing technology has revolutionized the way we create personalized items, and one of the most popular trends is creating custom bobbleheads. Imagine having a mini version of yourself with that characteristic wobbly head sitting on your desk! In this guide, we’ll walk you through the steps to 3D print a bobblehead of yourself, ensuring you capture all the details that make you unique.
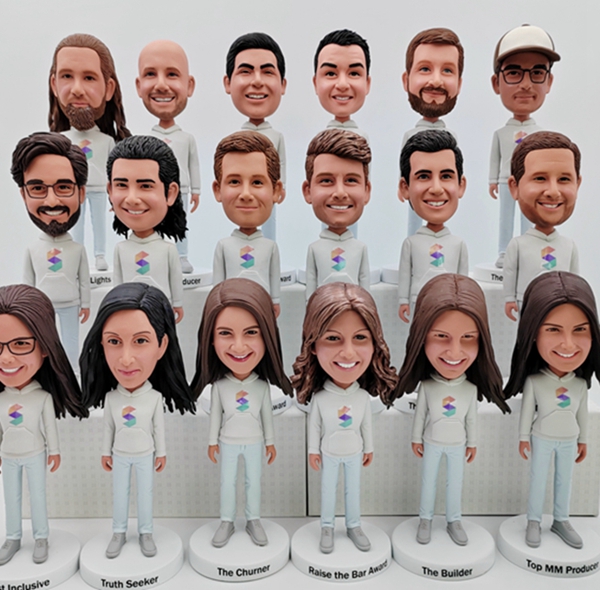
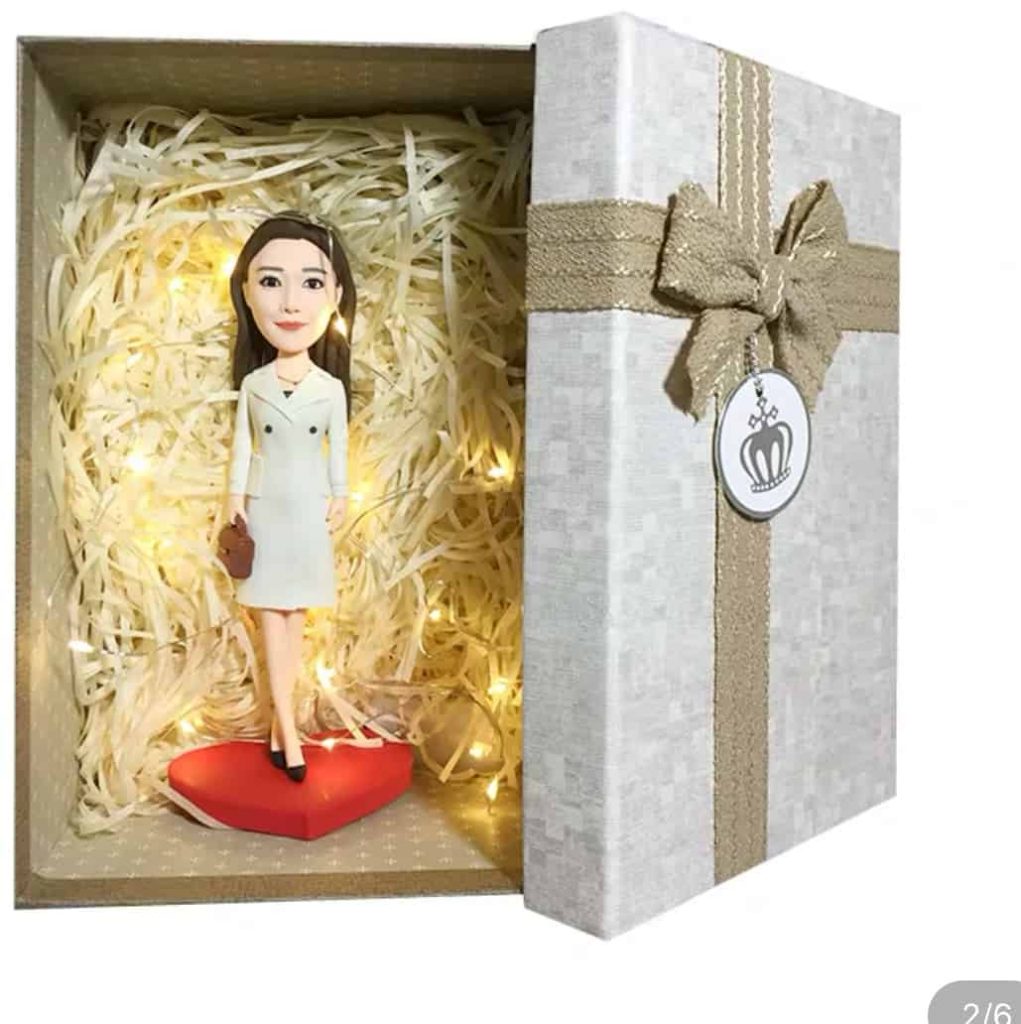
Bbobbler.com creates personalized bobbleheads that capture your unique style. Our expert team turns your vision into a tangible reality. From weddings to corporate events, our custom bobbleheads add a touch of fun and creativity to any celebration. Join us on this exciting journey of self-expression!
Table of Contents
- Understanding the Basics of 3D Printing
- Gathering the Necessary Materials
- Creating a 3D Model of Yourself
- Preparing the 3D Model for Printing
- Printing Your Bobblehead
- Post-Processing Your Bobblehead
- FAQs
- Conclusion
Understanding the Basics of 3D Printing
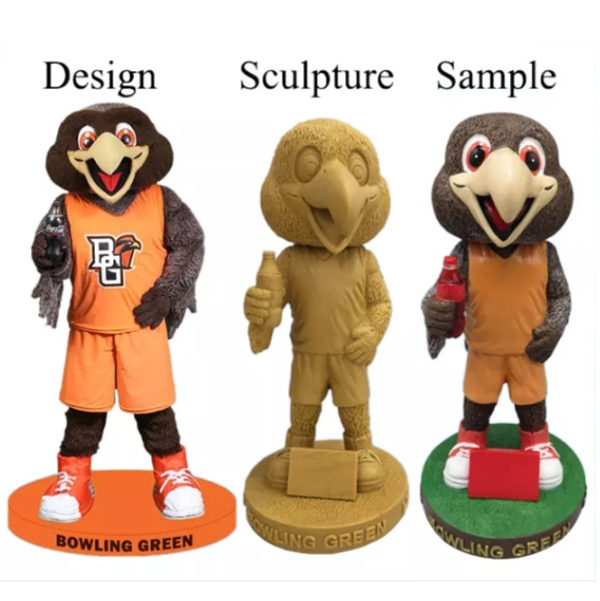
Before diving into the creation of your bobblehead, it’s important to understand the basics of 3D printing. 3D printing, also known as additive manufacturing, is a process where a digital model is turned into a physical object by adding material layer by layer. This technology allows for the creation of highly detailed and personalized objects.
How 3D Printing Works
- Design: A digital 3D model is created using CAD software.
- Slicing: The model is sliced into thin layers.
- Printing: The printer creates the object layer by layer.
- Post-Processing: The printed object is cleaned and finished.
Gathering the Necessary Materials
To create a 3D printed bobblehead of yourself, you will need the following materials:
- 3D Printer: A high-resolution printer is recommended.
- Filament: Choose the appropriate filament for your printer (PLA, ABS, etc.).
- 3D Modeling Software: Software like Blender or Tinkercad.
- Photographs: High-quality images of yourself from multiple angles.
- Support Material: For complex parts of the bobblehead.
Creating a 3D Model of Yourself
Creating a 3D model of yourself is the most crucial step. Here’s how you can do it:
Taking Reference Photos
- Front View: A straight-on photo of your face.
- Side Views: Photos from both left and right profiles.
- Back View: A photo of the back of your head.
Using 3D Modeling Software
- Import Photos: Load your photos into the software.
- Sketching: Create a basic sketch of your face from each angle.
- Extruding and Sculpting: Use the tools to extrude and sculpt the 3D model.
- Refining Details: Add details like hair, facial features, and clothing.
Professional Help
If modeling isn’t your forte, consider hiring a professional or using a service like Bbobbler.com to create a high-quality 3D model.
Preparing the 3D Model for Printing
Once you have your 3D model, it’s time to prepare it for printing. This involves several steps to ensure the model prints correctly.
Checking for Errors
- Mesh Errors: Use software tools to check and repair any mesh errors.
- Scaling: Ensure the model is the correct size for your printer.
- Orientation: Position the model to minimize the need for support structures.
Slicing the Model
- Slicing Software: Use slicing software to divide the model into layers.
- Settings: Adjust print settings such as layer height, infill density, and print speed.
- Export: Export the sliced model as a G-code file.
Printing Your Bobblehead
With your model prepared, it’s time to print your bobblehead.
Setting Up the Printer
- Load Filament: Insert the filament into the printer.
- Calibrate: Ensure the printer bed is level and the nozzle is clean.
Starting the Print
- Upload G-code: Load the G-code file into the printer.
- Monitor: Keep an eye on the print to catch any issues early.
- Print: Allow the printer to complete the job.
Post-Processing Your Bobblehead
After printing, some post-processing is needed to achieve the final look.
Removing Supports
- Carefully Remove: Gently remove any support structures.
- Sanding: Sand down any rough edges.
Painting and Finishing
- Primer: Apply a primer to the bobblehead.
- Painting: Use acrylic paints to add color and details.
- Sealing: Apply a sealant to protect the paint.
FAQs
How long does it take to print a bobblehead?
The time to print a bobblehead depends on the size and complexity of the model, but it typically takes between 6 to 12 hours.
What type of filament is best for printing bobbleheads?
PLA is commonly used for its ease of use and good print quality. However, ABS can also be used if you need a more durable bobblehead.
Can I use my phone to create the 3D model?
Yes, there are apps available that can help create 3D models using your phone’s camera, but for the best results, professional 3D modeling software or services are recommended.
Final Toughts
Creating a 3D printed bobblehead of yourself is a fun and rewarding project that allows you to bring a mini version of yourself to life. By following these steps, from gathering materials to post-processing, you can ensure a high-quality result. And if you prefer professional assistance, Bbobbler.com is always ready to help you create the perfect personalized bobblehead.
Summary Table: Steps for How to 3D Print a Bobblehead of Yourself
| Step | Description |
|---|---|
| Understanding 3D Printing | Learn the basics of 3D printing and how it works |
| Gathering Materials | Collect necessary materials: printer, filament, software |
| Creating 3D Model | Use photos and 3D modeling software to create the model |
| Preparing Model for Print | Check for errors, scale, orient, and slice the model |
| Printing the Bobblehead | Set up the printer, load filament, upload G-code, and print |
| Post-Processing | Remove supports, sand, paint, and finish the bobblehead |
| FAQs | Common questions about the 3D printing process |
Embark on this creative journey and have fun creating your personalized bobblehead!