Bobbleheads have been capturing hearts and imaginations for decades, offering a whimsical and personalized touch to any space. Whether you want to immortalize yourself, a loved one, or a cherished pet, creating your own custom bobblehead is a fun and rewarding experience. In this comprehensive guide, we’ll walk you through the step-by-step process of making yourself into a bobblehead, ensuring that every detail reflects your unique personality and style.
Here are 7 steps to make yourself into a bobble head
Step 1: Choose Your Bobblehead Maker
Before diving into the creative process, it’s essential to find a reputable bobblehead maker that can bring your vision to life. With countless options available online, it’s crucial to select a provider like Bbobbler.com, known for their expertise in custom sculpting personalized bobbleheads based on photos. Whether you’re seeking a realistic, modern, or cute design, Bbobbler.com offers high-quality craftsmanship, best likeness, low prices, and fast turnaround times. Plus, if you’re looking for funny and cool bobblehead style figurines, they have those too!
Step 2: Gather Reference Photos
Once you’ve chosen your bobblehead maker, the next step is to gather reference photos to guide the sculpting process. Take clear, well-lit photos from multiple angles, capturing facial features, hair texture, clothing details, and any accessories you want to include. Remember, the more detailed your reference photos, the more accurate your bobblehead will be.
Step 3: Customize Your Design
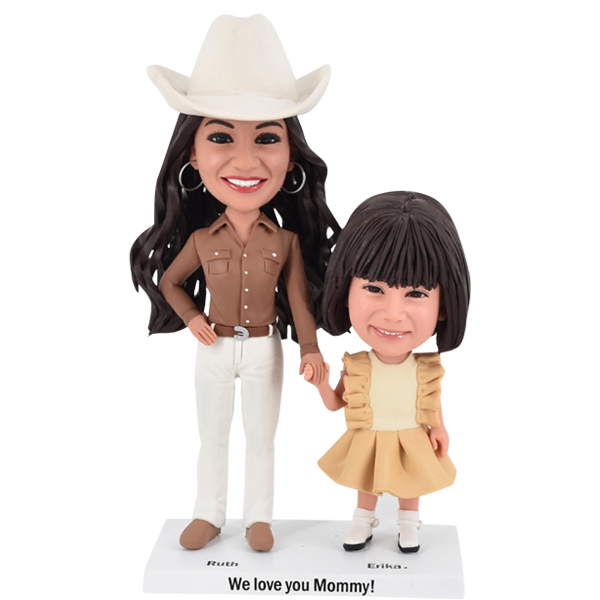
With your reference photos in hand, work closely with the bobblehead maker to customize your design. Choose the pose, facial expression, attire, and any additional features that will make your bobblehead truly unique. Whether you’re recreating a special moment or adding a touch of whimsy, don’t be afraid to let your imagination run wild.
Step 4: Review and Revise
Once the initial design is complete, take the time to review and provide feedback to the bobblehead maker. Pay attention to details such as likeness, proportions, and overall aesthetic. If any adjustments are needed, communicate them clearly to ensure your satisfaction with the final product.
Step 5: Finalize and Approve
After any revisions have been made, it’s time to finalize your bobblehead and give it your stamp of approval. Double-check all details to ensure they align with your vision, and confirm that you’re happy with the overall design. Once you’ve signed off on the final version, the bobblehead maker will proceed with production.
Step 6: Await Delivery
With the design approved, sit back and eagerly await the arrival of your custom-made bobblehead. Thanks to the efficient turnaround times offered by Bbobbler.com, you won’t have to wait long to see your creation come to life. Track the progress of your order and anticipate the moment when you can proudly display your personalized bobblehead for all to see.
Step 7: Display and Enjoy
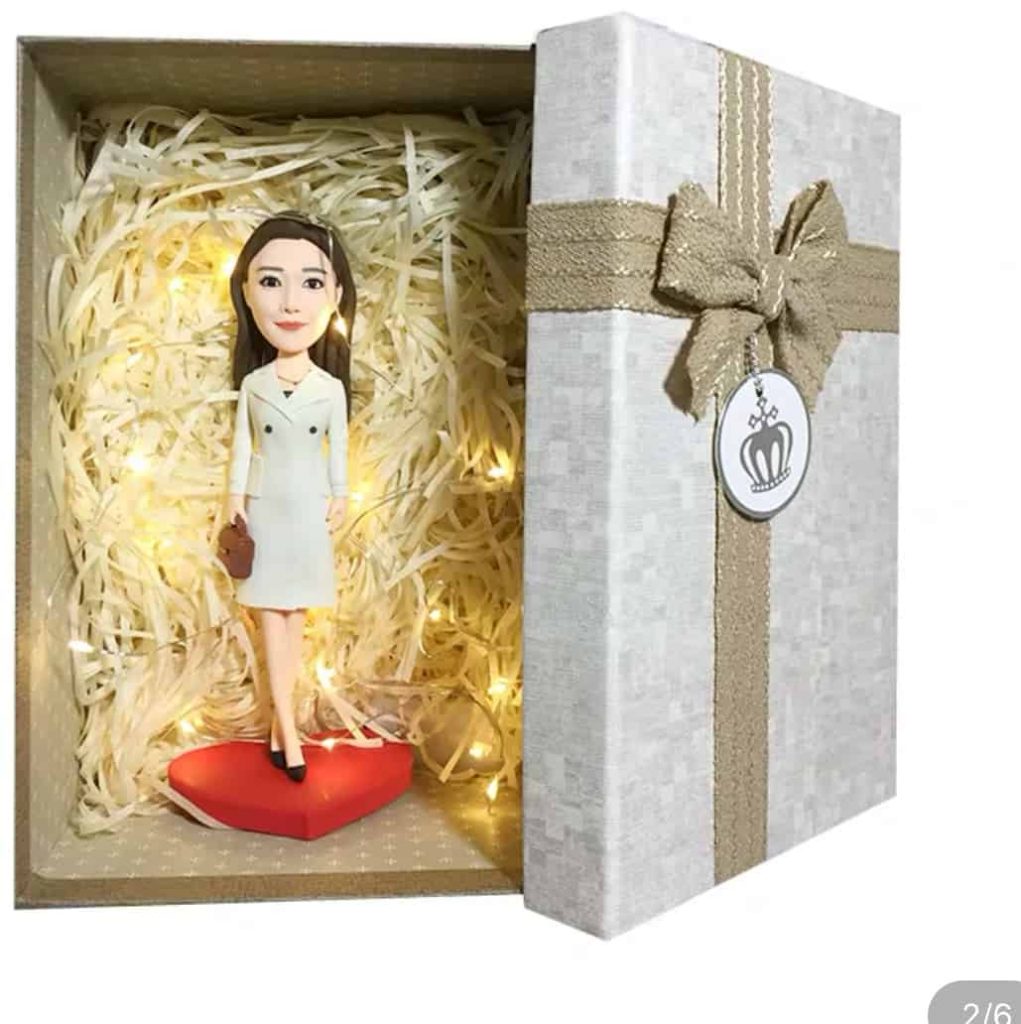
Once your bobblehead arrives, find the perfect spot to display it proudly in your home, office, or wherever you please. Whether it’s a gift for a loved one or a treat for yourself, your custom-made bobblehead is sure to bring joy and laughter for years to come.
Overall:
Crafting yourself into a bobblehead is a delightful journey filled with creativity, customization, and personalized fun. By following these step-by-step instructions and partnering with a trusted provider like Bbobbler.com, you can bring your vision to life with ease and confidence. So why wait? Start your bobblehead adventure today and enjoy the endless smiles it brings.