Creating your own bobblehead can be a fun and rewarding project. Whether you’re making a custom gift for a friend or adding a unique piece to your collection, the process is both enjoyable and satisfying. In this guide, we’ll walk you through the steps to make your own bobblehead, featuring insights from Bbobbler’s custom bobblehead creation process. Bbobbler offers high-quality bobbleheads made from polymer clay or resin, with a standard height of about 6.5 inches and a weight of approximately 0.3 kg per doll.
Step 1: Gather Materials and Tools
Before starting, you’ll need to gather all the necessary materials and tools. Here’s what you’ll need:
Materials:
- Polymer Clay or Resin: The primary material for sculpting the bobblehead. Bbobbler uses these materials for durability and detail.
- Wire: To create a basic frame or armature for the bobblehead.
- Acrylic Paints: For painting the finished bobblehead.
- Glue: For attaching parts securely.
- Clear Coat Spray: To seal the paint and protect the bobblehead.
Tools:
- Sculpting Tools: Various tools for shaping and detailing the clay.
- Paintbrushes: Different sizes for painting fine details and larger areas.
- Oven: For baking polymer clay.
- Sandpaper: For smoothing surfaces before painting.
- Drill and Small Screws: For assembling the bobble mechanism.
- Wire Cutters: To cut the wire for the armature.
Step 2: Plan Your Bobblehead
Before you start sculpting, it’s essential to plan your bobblehead. Consider the following aspects:
Design:
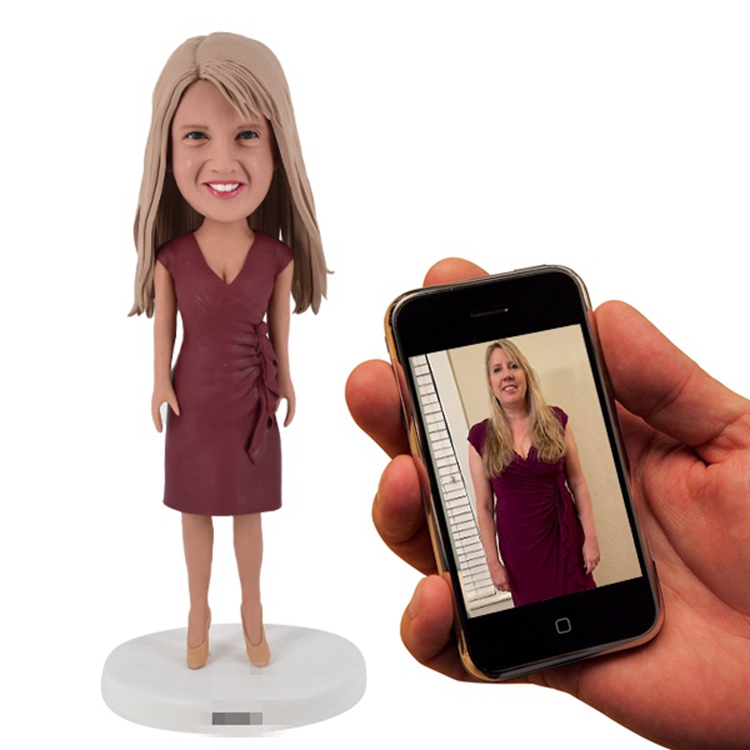
- Reference Images: Collect images of the person or character you want to recreate.
- Pose: Decide on the pose and expression for your bobblehead.
Measurements:
- Proportions: Sketch the basic proportions to ensure the head and body are appropriately sized.
- Standard Height: Bbobbler’s standard height is about 6.5 inches, which is a good reference.
Step 3: Create the Armature
An armature is a wire frame that provides support to the clay during sculpting. Here’s how to create one:
Steps:
- Cut the Wire: Use wire cutters to cut pieces of wire for the body and limbs.
- Shape the Frame: Bend the wire to create a basic human figure. Ensure the head’s size is exaggerated, as it will be a bobblehead.
- Secure the Frame: Twist the wires together at joints to secure the frame.
Step 4: Sculpt the Bobblehead
Now that you have an armature, you can start sculpting with polymer clay or resin.
Steps:
- Add Clay to the Frame: Begin by adding clay to the wire frame, starting with the torso and limbs.
- Shape the Head: Create a larger, separate piece for the head. Ensure it’s hollow enough to move slightly when attached.
- Detail the Face and Body: Use sculpting tools to add facial features and details to the clothing.
- Bake the Clay: If using polymer clay, bake it according to the manufacturer’s instructions. Resin may require a different curing process.
Tips:
- Work in Layers: Add details gradually, allowing each layer to firm up before adding more.
- Smooth Surfaces: Use water or rubbing alcohol to smooth surfaces before baking.
Step 5: Assemble the Bobble Mechanism
The bobble mechanism allows the head to move. Here’s how to create it:
Steps:
- Drill a Hole: Drill a small hole in the bottom of the head and the top of the body.
- Insert a Spring or Elastic: Use a small spring or elastic band to connect the head to the body. The head should move freely but stay securely attached.
- Secure with Screws: Use small screws to secure the spring or elastic in place.
Step 6: Paint the Bobblehead
Once the bobblehead is assembled, it’s time to paint it.
Steps:
- Prime the Surface: Use a primer to prepare the surface for painting.
- Base Coat: Apply a base coat of paint to cover large areas.
- Detailing: Use smaller brushes to add fine details, such as facial features and clothing accents.
- Seal the Paint: Once the paint is dry, apply a clear coat spray to seal and protect the paint.
Tips:
- Multiple Layers: Apply multiple thin layers of paint for a smooth finish.
- Drying Time: Allow each layer of paint to dry completely before adding more.
Step 7: Final Assembly and Touch-Ups
After painting, you may need to make final adjustments and touch-ups.
Steps:
- Check the Mechanism: Ensure the bobble mechanism works smoothly.
- Attach Accessories: If your bobblehead has additional accessories, attach them securely.
- Touch Up Paint: Make any necessary touch-ups to the paint job.
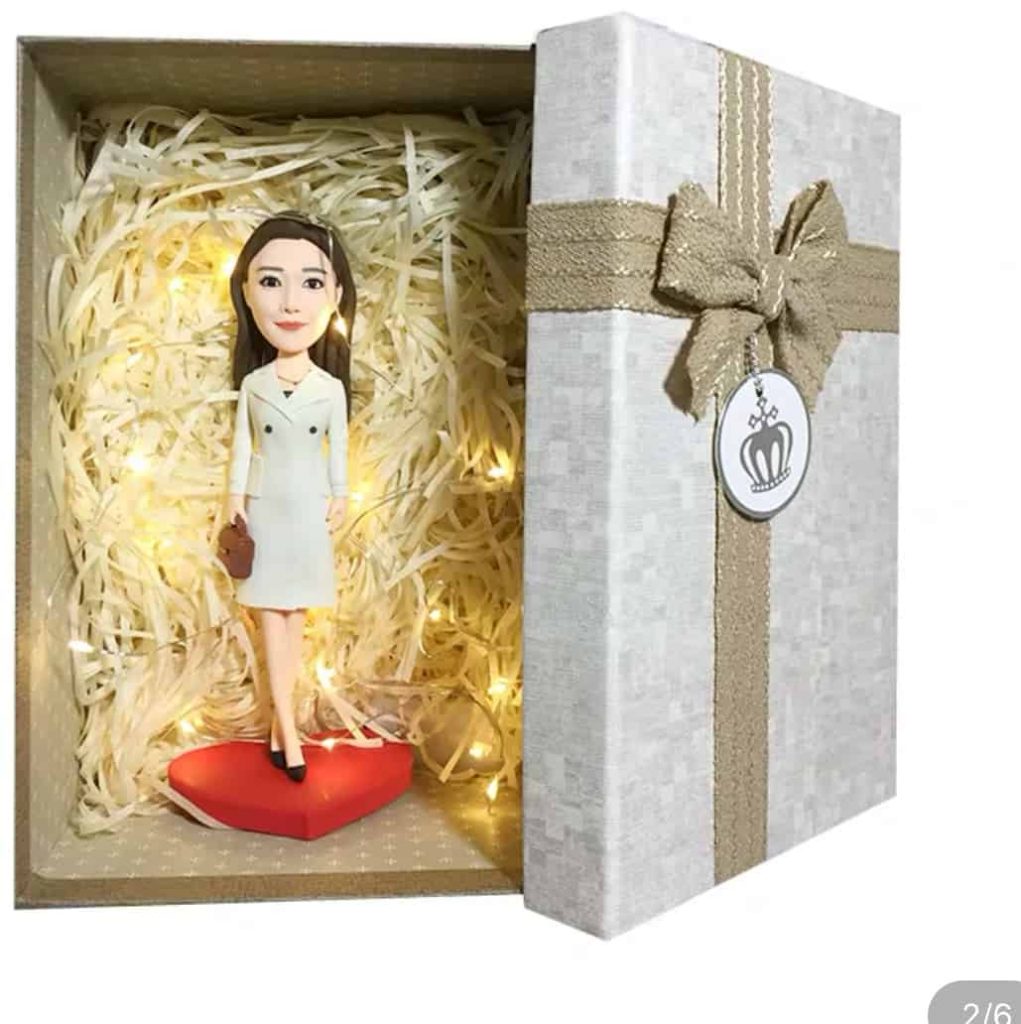
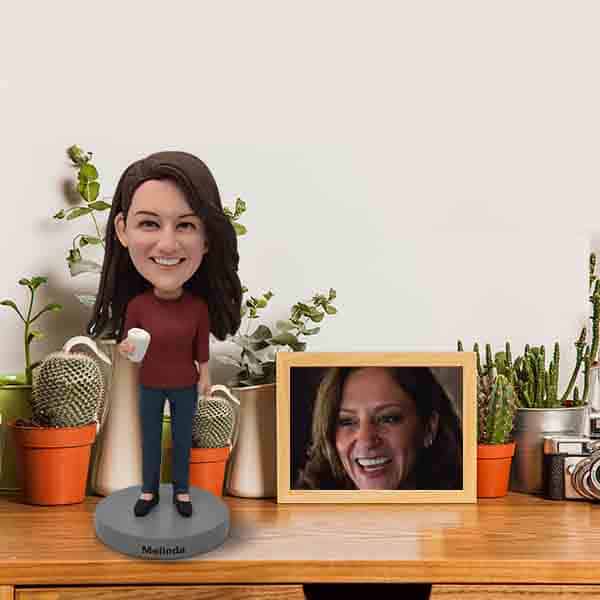
Step 8: Display Your Bobblehead
Your custom bobblehead is now complete and ready to be displayed. Find a prominent place to showcase your work of art.
Display Tips:
- Stable Surface: Ensure the bobblehead is on a stable surface to prevent it from falling.
- Protect from Dust: Use a display case or cover to protect it from dust and damage.
- Rotate Display: Periodically change the display angle to show off different aspects of your creation.
sum up
Creating your own bobblehead is a fun and rewarding project that allows you to showcase your creativity and craftsmanship. By following these steps and using high-quality materials like those from Bbobbler, you can make a unique and personalized bobblehead that stands out in any collection. Remember to plan carefully, work patiently, and enjoy the process of bringing your custom bobblehead to life. Whether it’s a gift for a friend or a special addition to your collection, your handmade bobblehead will be a cherished piece of art.
FAQS
Standard order Sculpting and Delivery (About 2-3 Weeks,Free Proof)
Fast order Sculpting and Delivery (About 15 Day, Free Proof)
Faster order Sculpting and Delivery (About 10 Days, Free Proof)
Super rush order Sculpting and Delivery (About 3-5 Days, No Proof)
In most cases we can deliver your bobbleheads according to the time frame you selected. We send photos to you during production for approval, if any delays in receipt of approval of the proof or changes to the proof are requested, additional time may be needed to complete the job.
Standard order needs 4-7 working days
Rush order needs 1-3 working days
We will send the proof to your email when it finished,please kindly check your box and give us the feedback on time, so that your custom bobblehead can be completed before the appointed date.