Table of Contents
- Introduction
- Recommended Materials
- Dashboard Prep Steps
- Attachment Methods
- Best Practices & Tips
- Removing & Cleaning Residue
- About Bbobbler Custom Bobble Heads
- Conclusion
- Summary Table
Introduction
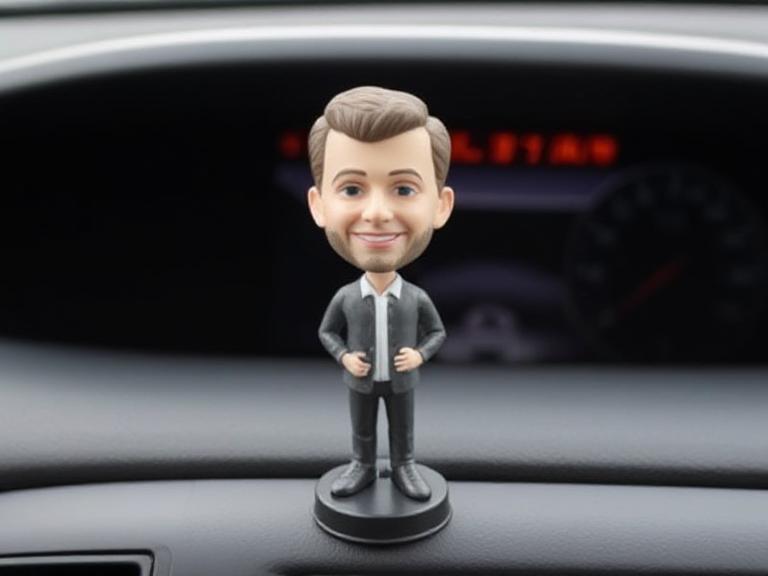
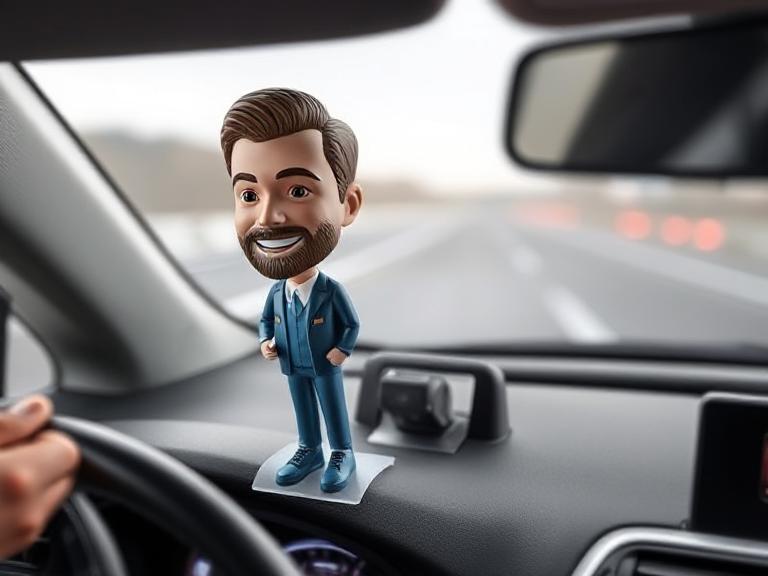
Adding a bobblehead to your dashboard is a fun way to personalize your ride. But attaching it securely—without damaging the dash—is key to a lasting, safe installation. This guide provides clear steps and best practices to help you install your favorite bobblehead doll confidently.
Recommended Materials
- 3M VHB double-sided foam tape: Automotive-grade, high bonding strength :contentReference[oaicite:1]{index=1}
- Gorilla mounting tape: Alternative high-strength option :contentReference[oaicite:2]{index=2}
- Scotch extreme-mounting tape: Reliable for lightweight plastic figures :contentReference[oaicite:3]{index=3}
- Plastic putty base (optional): Helps leveling on curved surfaces
- Isopropyl alcohol & microfiber cloth: For dash surface cleaning
Dashboard Prep Steps
- Clean the attachment zone using isopropyl alcohol to remove dust and oils.
- Dry the area thoroughly.
- Optional: Use plastic putty to level uneven areas and let it cure.
- Clean once more to ensure maximum tape adhesion.
Attachment Methods
1. Tape Mount
- Cut tape to match bobblehead’s base shape and size.
- Apply tape to the base, peel backing.
- Press firmly onto the prepared dashboard area.
2. Tape with Putty Support
- Mold putty to create a flat pedestal.
- Apply tape onto the putty, then install the bobblehead.
3. Mounting Plate (advanced)
- Attach a small flat adhesive plate to the dash first.
- Use hook-and-loop tape between the plate and the bobblehead base for easy swaps.
Best Practices & Tips
- Ensure the surface is completely clean and dry before taping.
- Use automotive-grade tape to survive heat and sun exposure.
- Press tape and base for at least 30 seconds to strengthen adhesion.
- Check periodically—dash heat may weaken bonds over time.
- Position bobbleheads away from airbags or obstructed views.
Removing & Cleaning Residue
- Warm the tape edges with a hairdryer to soften adhesive.
- Slowly peel off the bobblehead.
- Remove leftover adhesive using isopropyl alcohol or adhesive remover.
- Gently wipe—avoid scratching the dash surface.
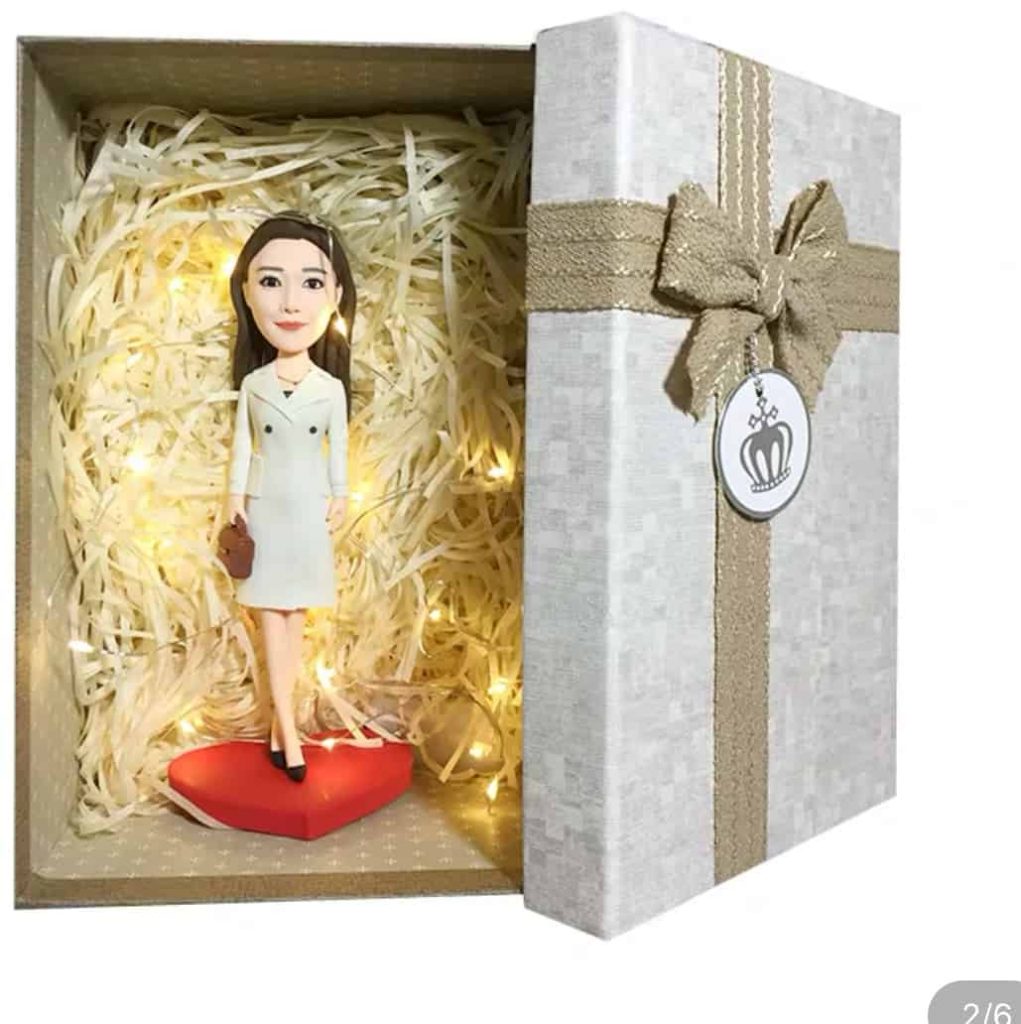
About Bbobbler Custom Bobble Heads
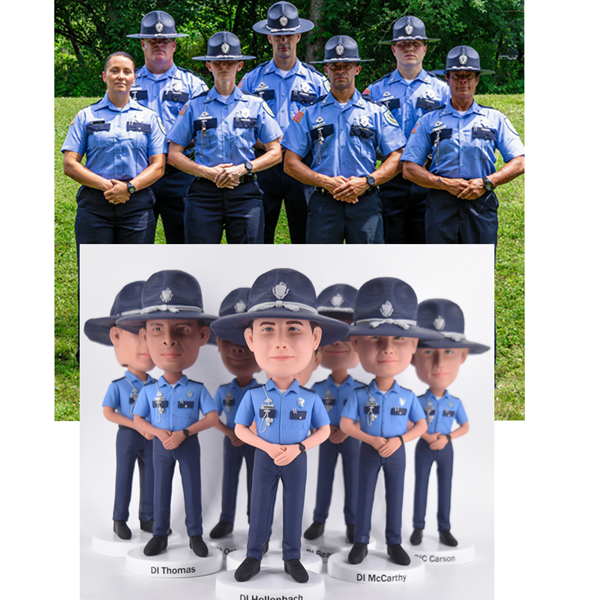
Bbobbler has specialized in crafting realistic and customized bobbleheads since 2012. Customers can choose from sports, wedding, graduation, bulk, Fathers Day, or fully custom models based on photos—perfect for personalizing your ride. Their quality construction ensures the base is smooth and secure, ideal for dashboard mounting.
Conclusion
Attaching a bobblehead to your dashboard is quick and safe when using the right materials and technique. Start with cleaning, use high-strength automotive tape, and optionally employ putty or adhesive plates for better balance on curved surfaces. With proper adhesion and placement, your Bbobbler bobblehead will bob and style through every mile.
Summary Table
| Step | Purpose | Key Tools |
|---|---|---|
| 1. Clean surface | Remove dust/oil | Isopropyl alcohol, cloth |
| 2. Prep (putty) | Level curved surfaces | Plastic putty |
| 3. Tape application | Secure base | 3M VHB or Gorilla tape |
| 4. Press and set | Maximize bond strength | Hands, firmness |
| 5. Placement check | Safety & visibility | Inspection |
| 6. Removal | Safe detachment | Hairdryer, alcohol |